
Ready to start screen printing? It’s a big jump, but it’s worth it. To build your shop, you will need to obtain some equipment and supplies. Our team of experts put together a handy check list of everything you should know about and consider for your future shop
MANUAL PRESS
The screen printing market has an abundance of screen printing presses. All these presses have different features, abilities, and prices. You want to make sure you’re getting the right press for your goals and/or your customers’ needs. How do you even begin to choose?
First, you pick a trusted brand
If you’re brand new to screen printing, consider starting off with the Riley Hopkins 150 Press. The 150 is a simple, high-quality press that’ll help you master the craft. If you’re planning on establishing your screen printing business, consider the Riley Hopkins 250 Press or our M&R Kruzer press.
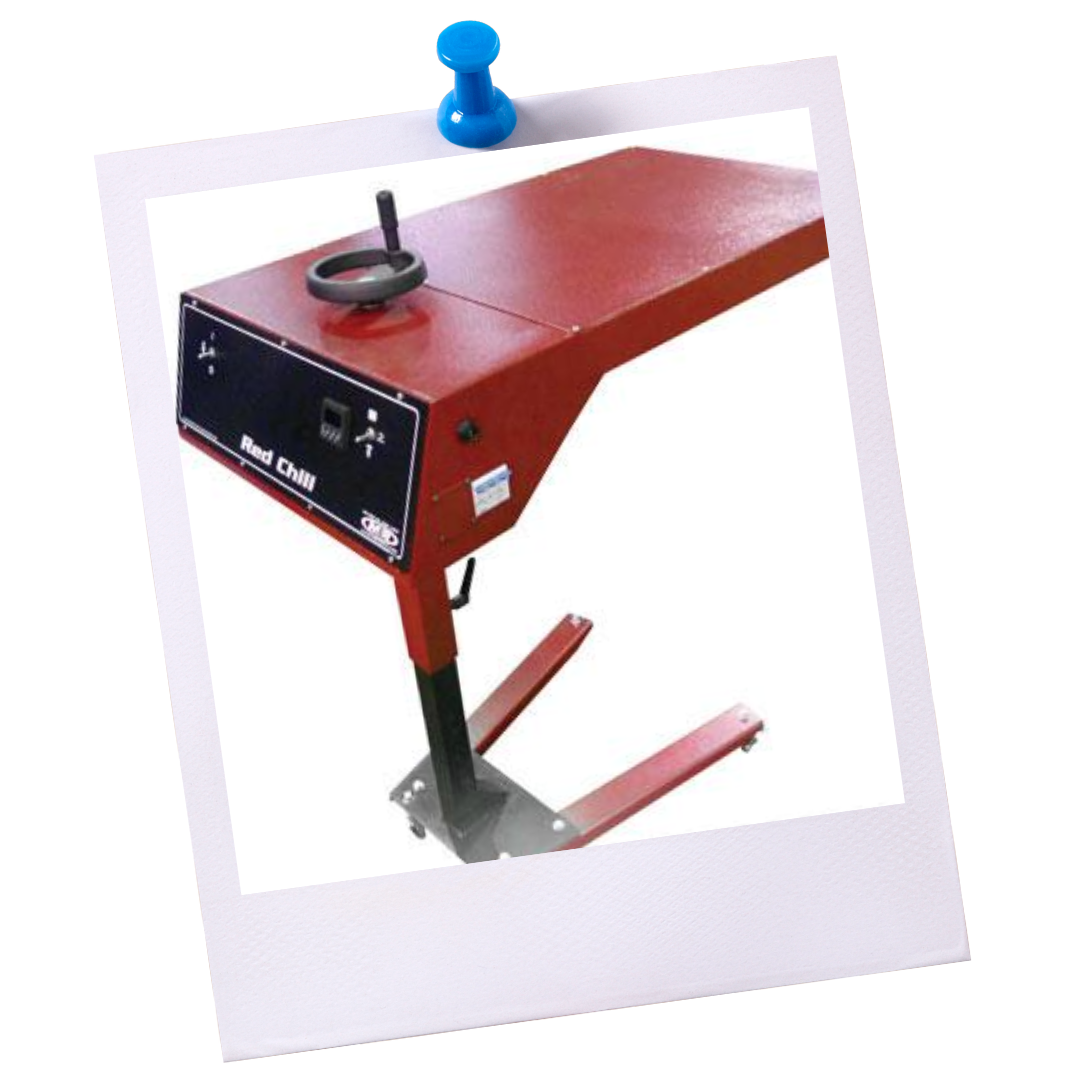
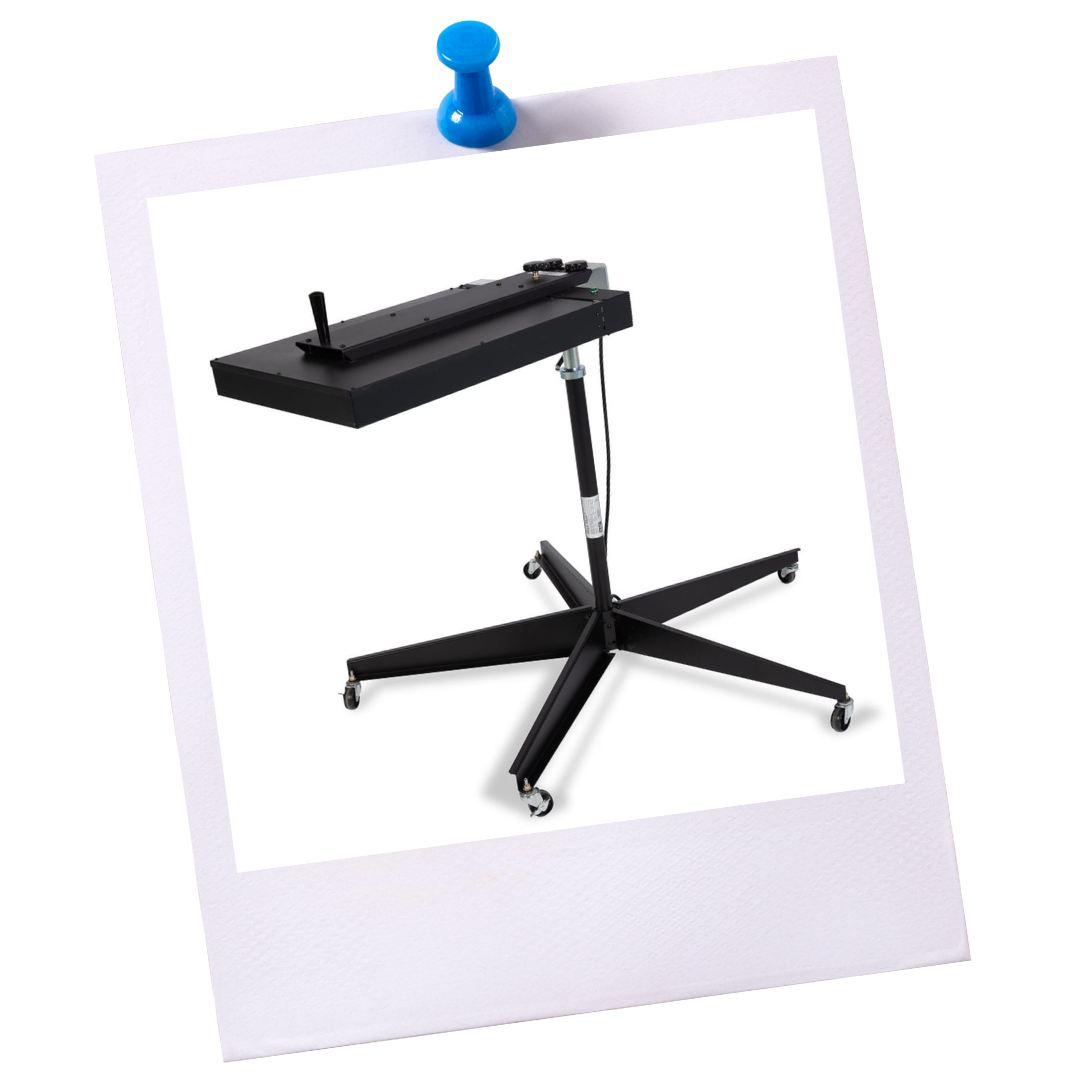
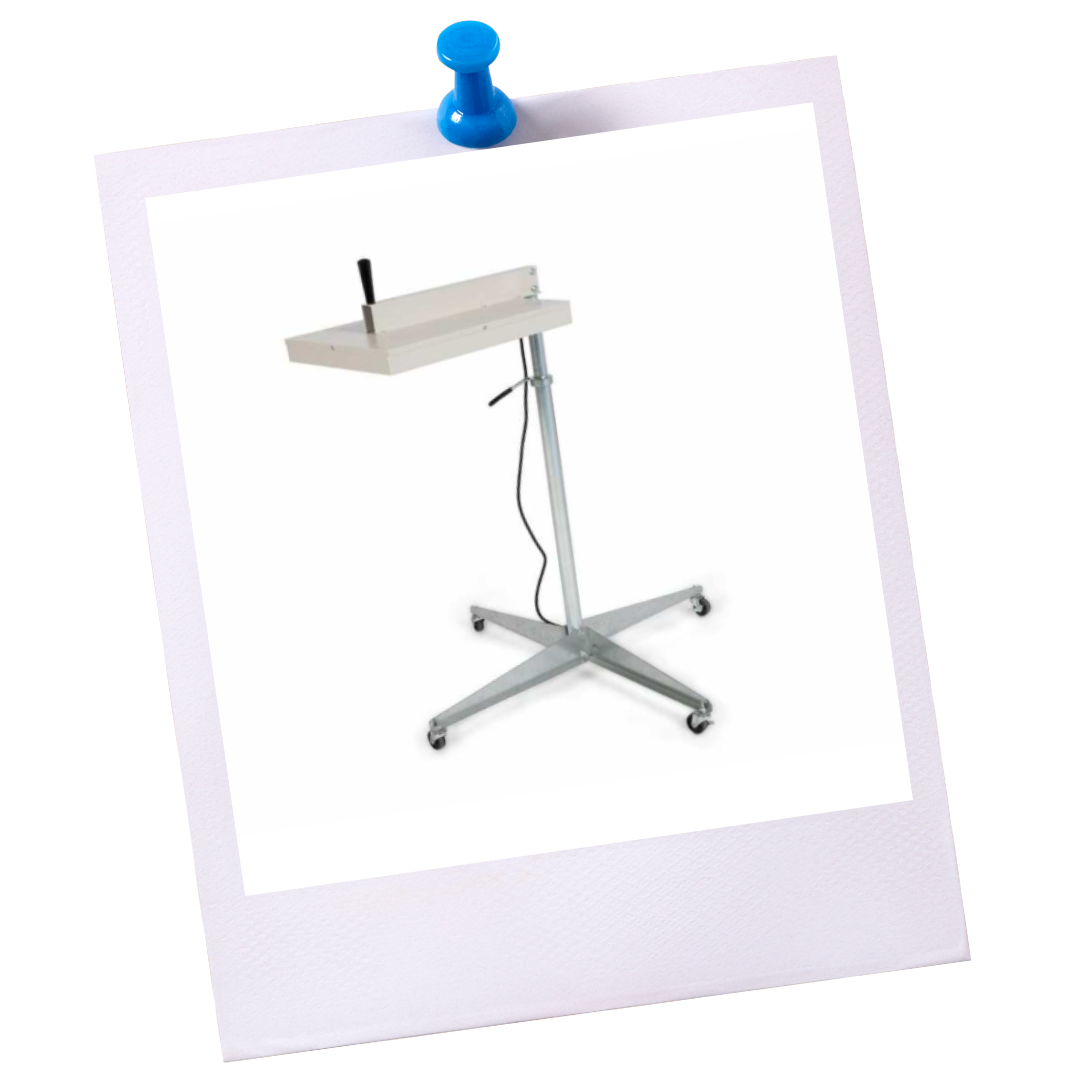
A WAY TO CURE INK YOUR INK
You will need equipment to cure or flash the ink. A heat gun or heat press can work, but it’s very difficult to maintain consistent heat across the whole print.
The best option for curing ink is to use a flash dryer or tunnel dryer. A flash dryer provides even, consistent heat across the whole print. The most popular flash dryer new printers grab is the Afford-A-Flash. If your looking at a tunnel dryer, Then the BBC little buddy is a great option used by many printshops across the world. 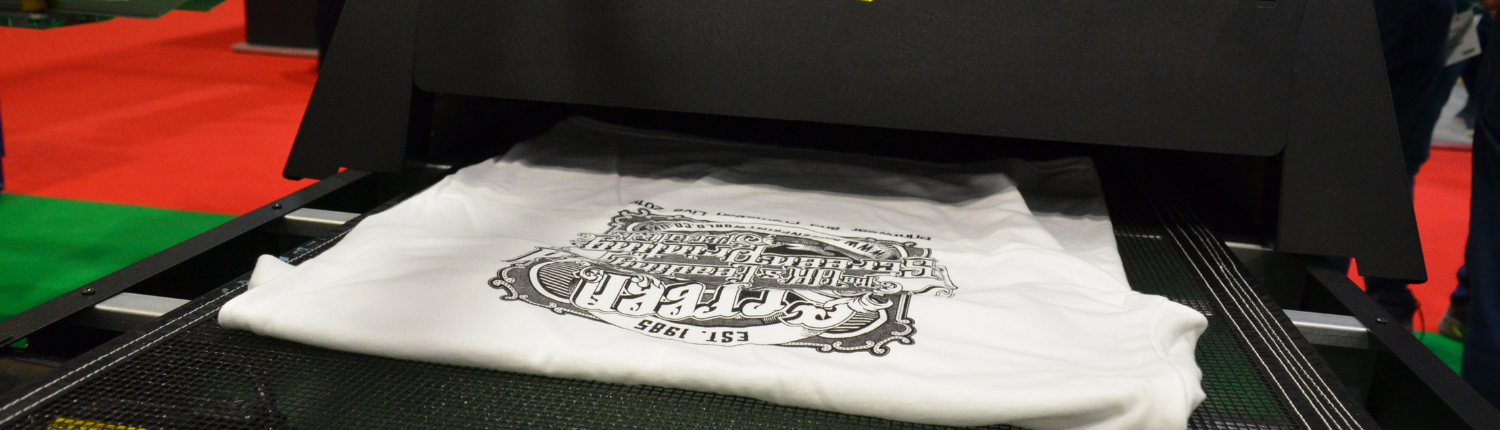
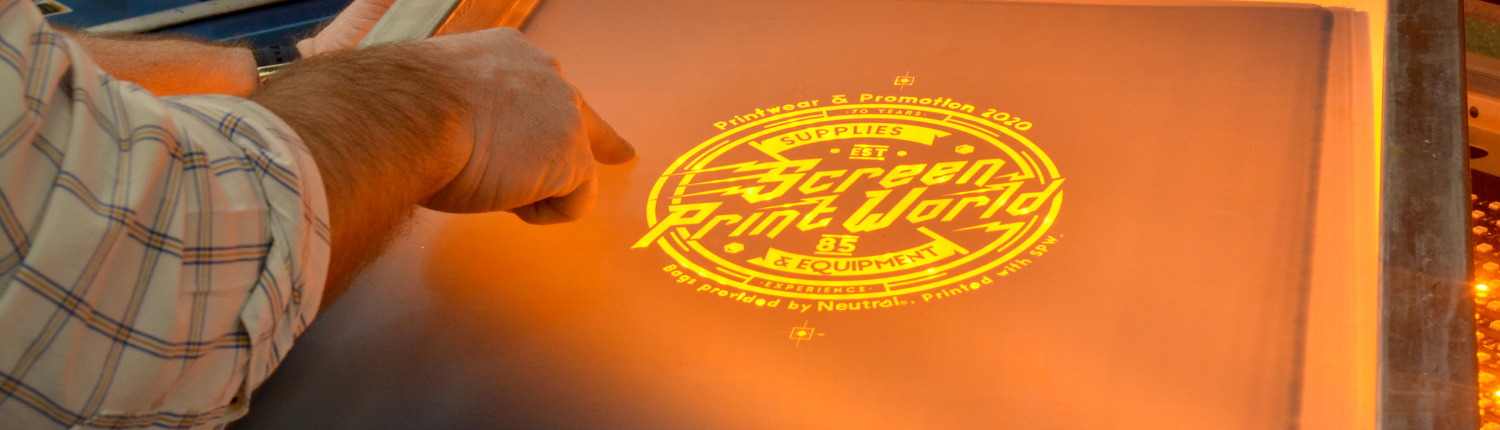
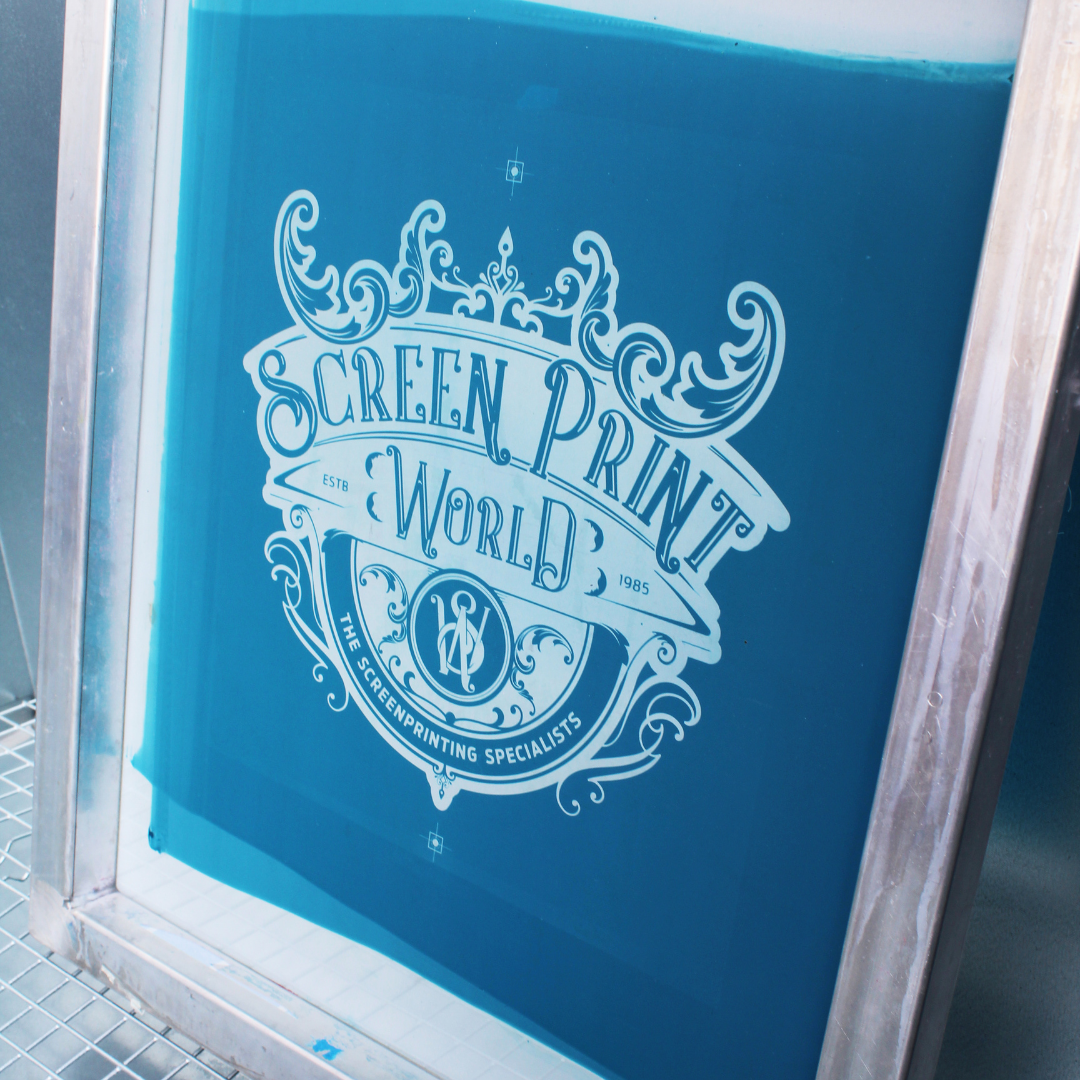
EXPOSURE UNIT
The exposure unit is a very important piece of the screen room.This what you’ll need to expose your screens. The quality of the exposure unit matters. Some may start out with a bulb, while others get the Small UV Exposure Unit. If you’re able to chip in a bit more money. You can sometimes find great second hand units on our used section.
If investing in an exposure unit is not doable for you right now, some businesses offer a screen exposing service, We recommend Squeegee & Ink who will create your screens for you for.
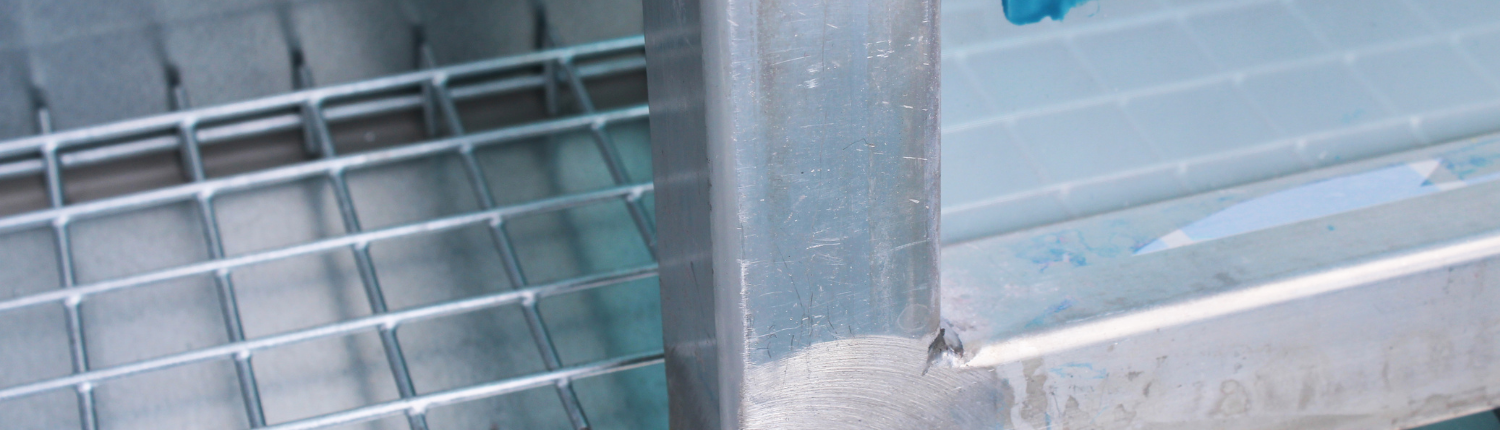
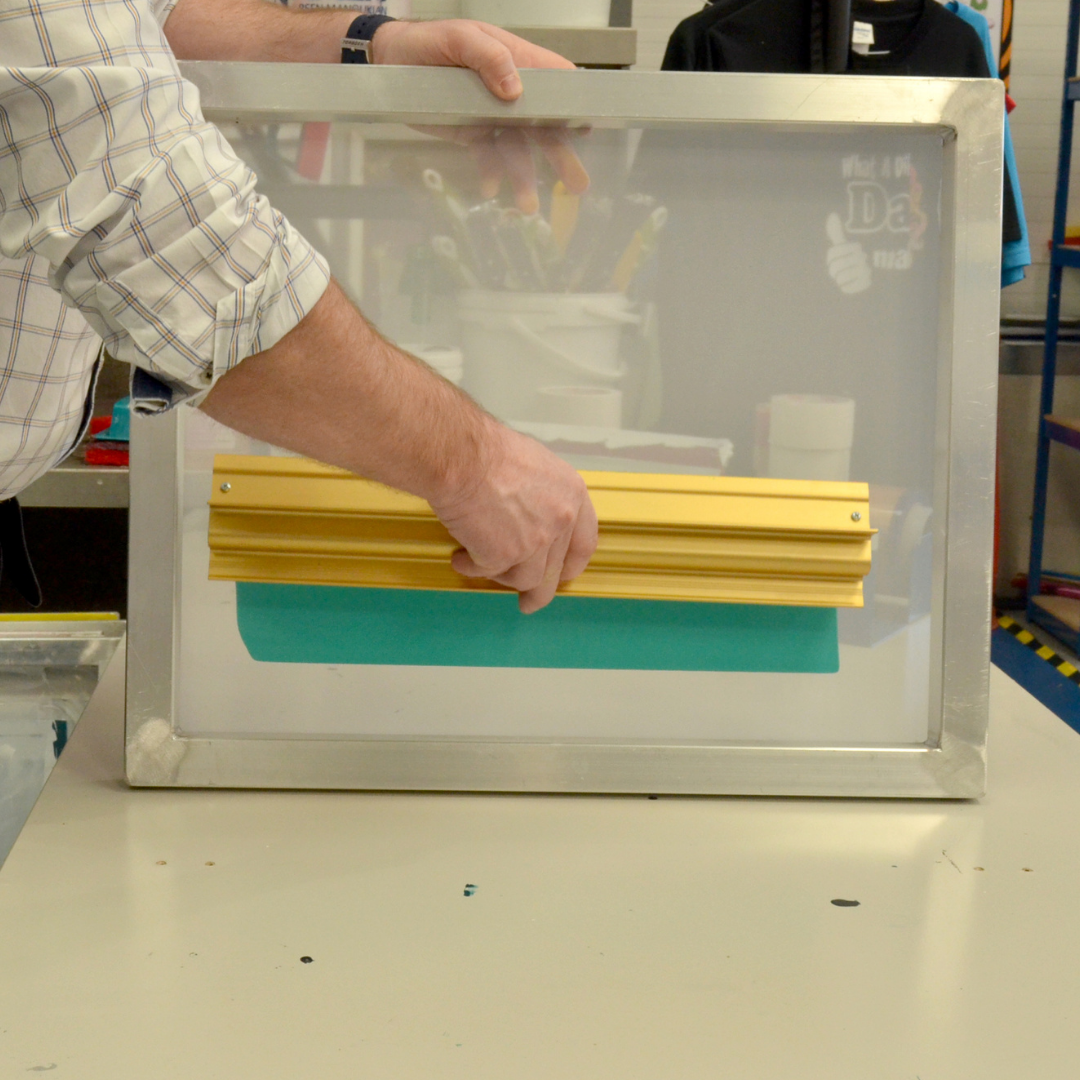
SPACE FOR CLEANING SCREENS
To rinse out freshly exposed screens or reclaim old screens, you’re going to need a space to accomplish those tasks. The Dip Tank is the most practical way to manage your screen reclaiming, along with a dip tank which can streamline your cleaning process. If you are limited on space, We recommend a table top washout booth. You’ll also need a jet wash to efficiently remove emulsion and other build up.
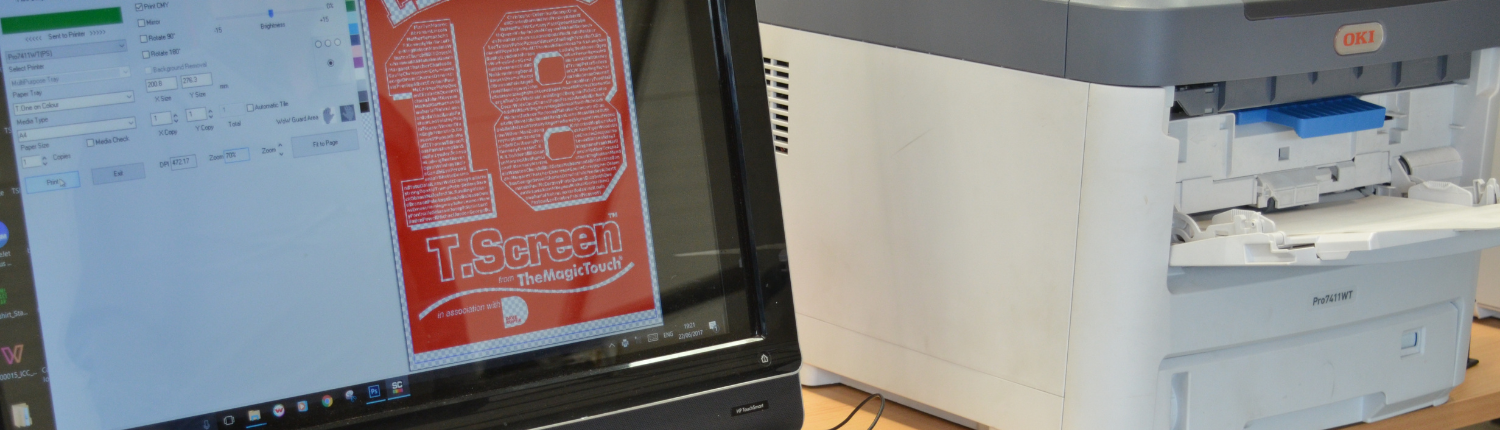
PRINTING POSITIVES
To get your image onto a screen, you’re going to need a film printer. Many types of film output printers exist, but chat to us if you’re unsure about which ones may be suitable. The most common is an inkjet printer. Inkjet film has one side that’s coated, and one side that isn’t coated. The coating is important because it holds onto the ink from the printer. The coating on inkjet film also helps maintain the density and shape of the image.
Asking a local print shop to print film positives for you is definitely an option if you do not have the funds for a film printer. Ask around to see if shops would provide that service and how much it would cost.
SOFTWARE
You will need a few programs to create the art and print it off properly. For creating art, screen printing experts suggest to use Adobe® Illustrator or Photoshop.
For printing films, you’ll need software such as AccuRIP which is the most common, versatile program. If you print a lot of spot colors, you could look into Separation Studio
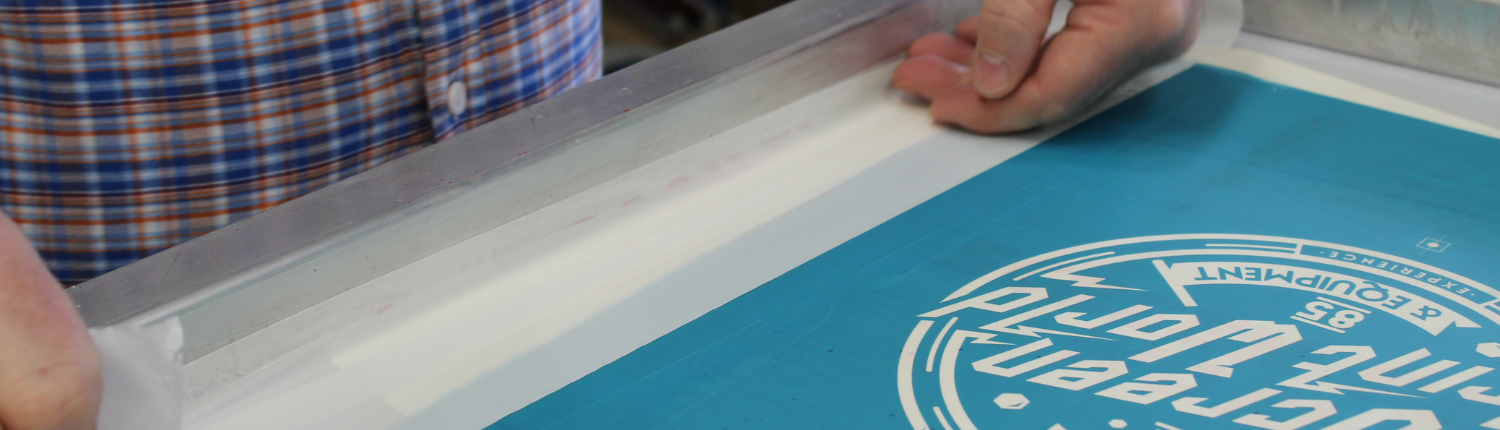
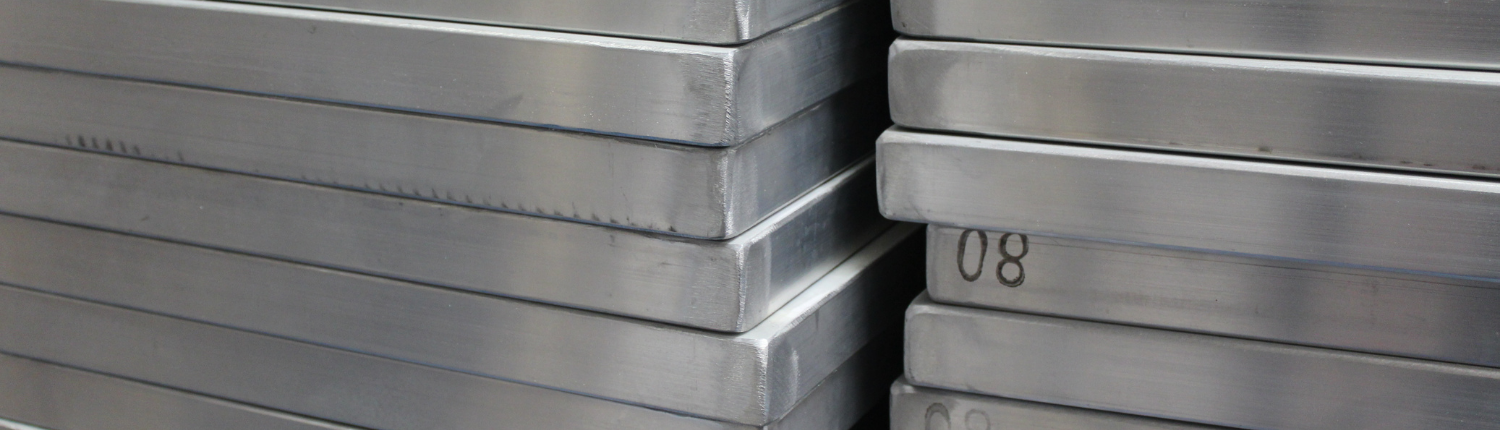
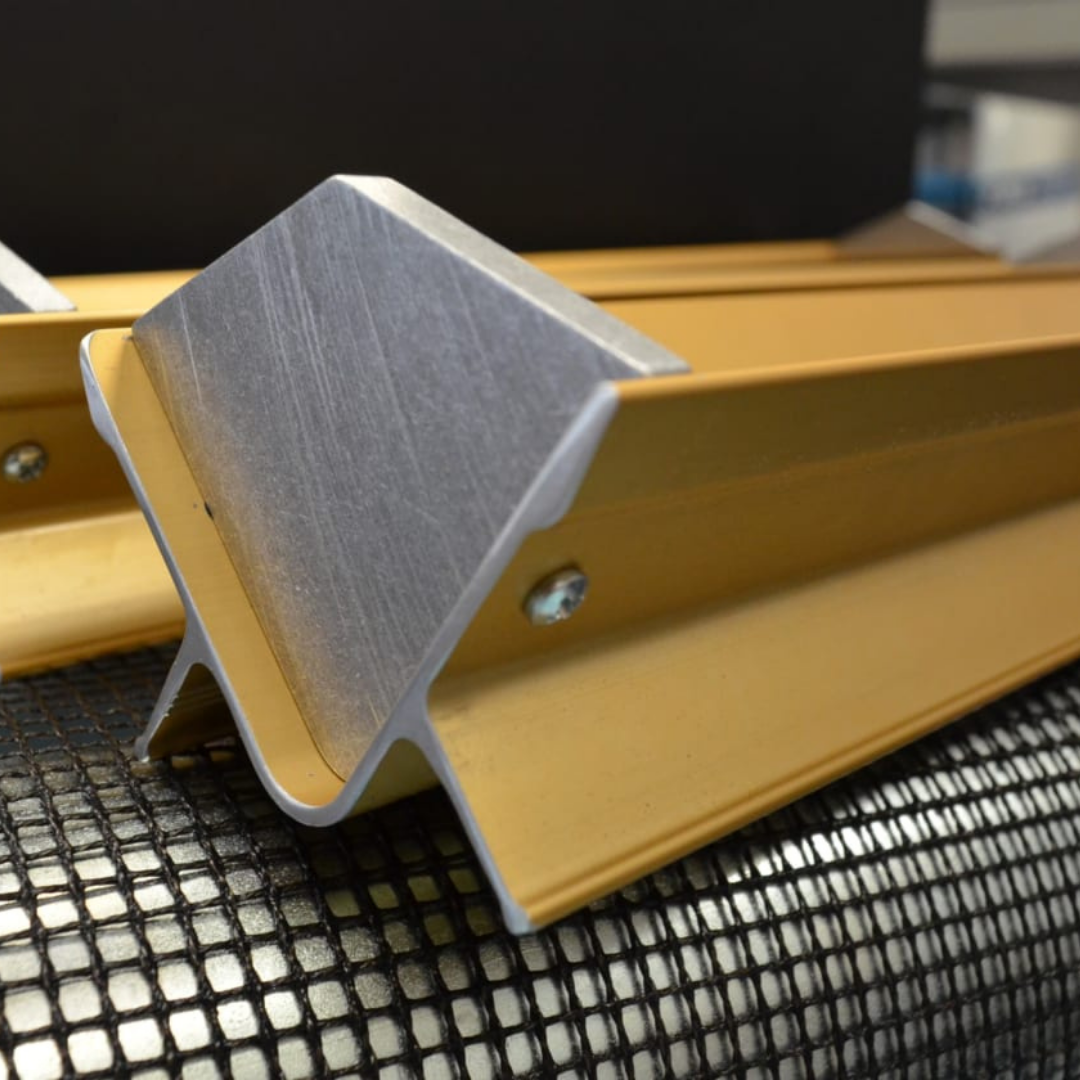
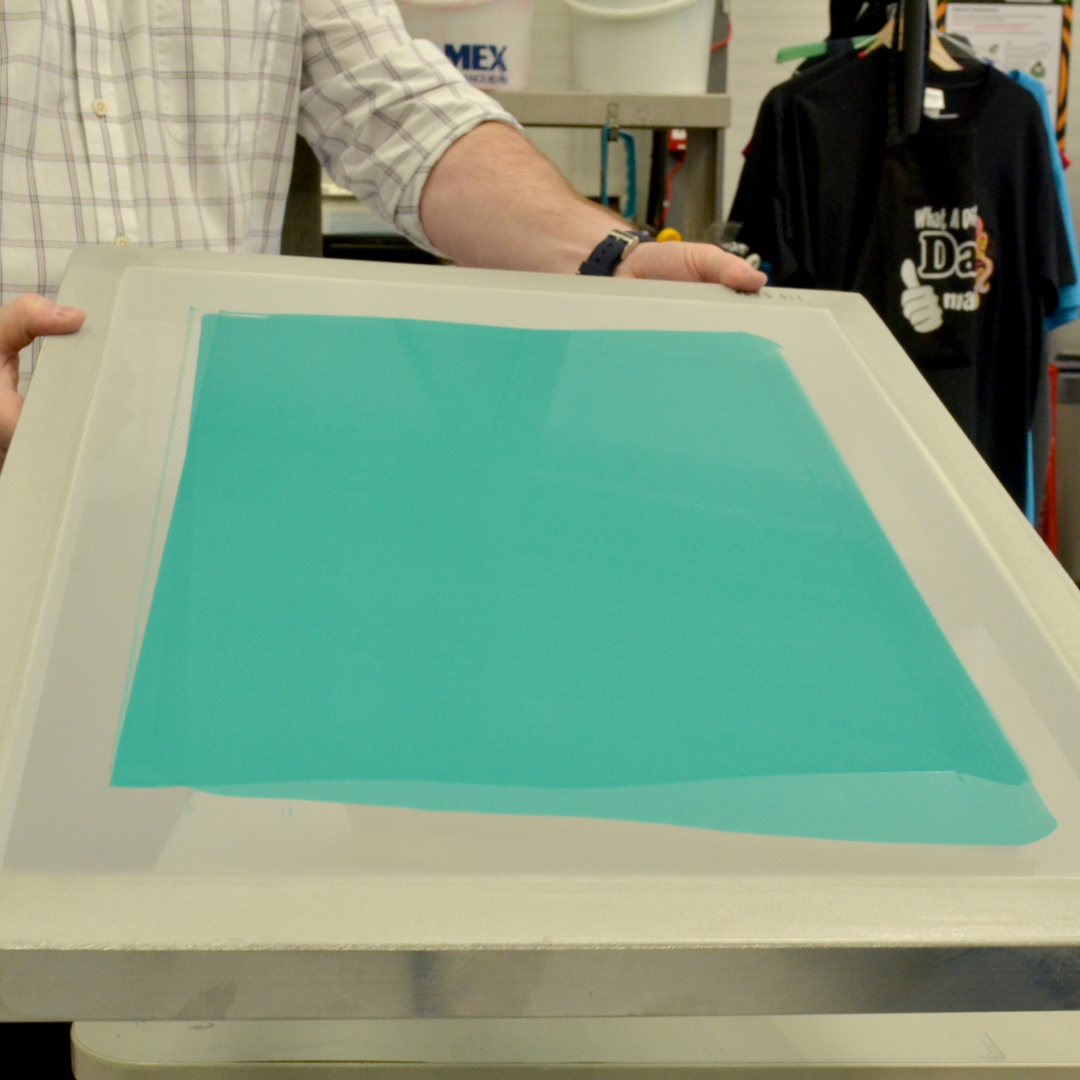
SCREENS
You’ll need a good supply of screens.
Here’s a generic summary of the uses for basic mesh sizes:
- 43T/110 — great for polyester inks, white on
black prints, block text, white base, and large spot color designs
- 62T/156 — the jack-of-all-trades for
screens, many jobs can be done with this mesh count
- 90T/230 — great for high detail and finer
lines
- 120T/305 — CMYK,
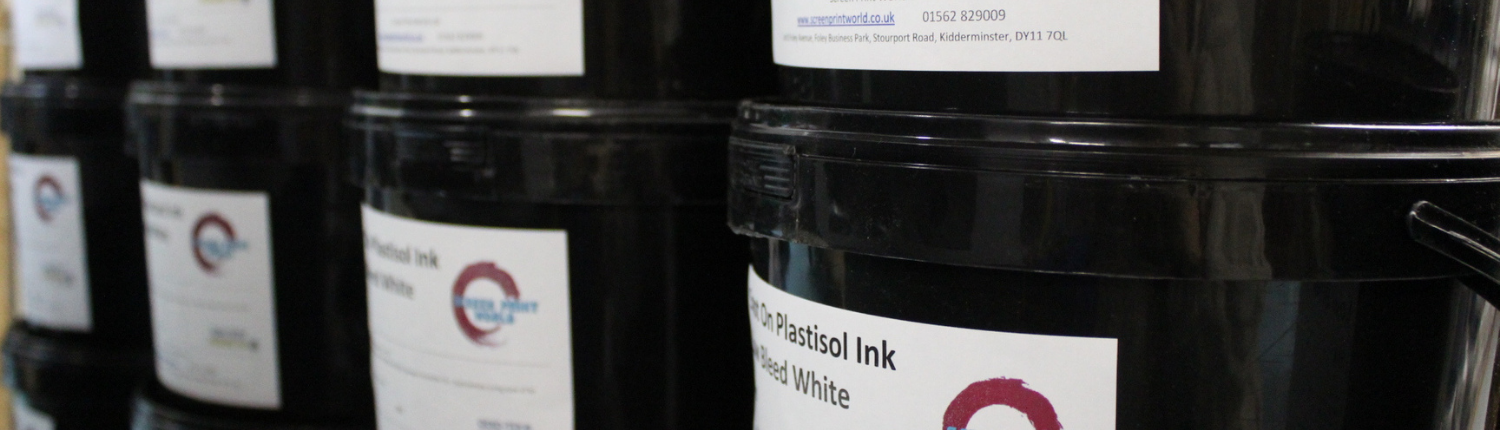
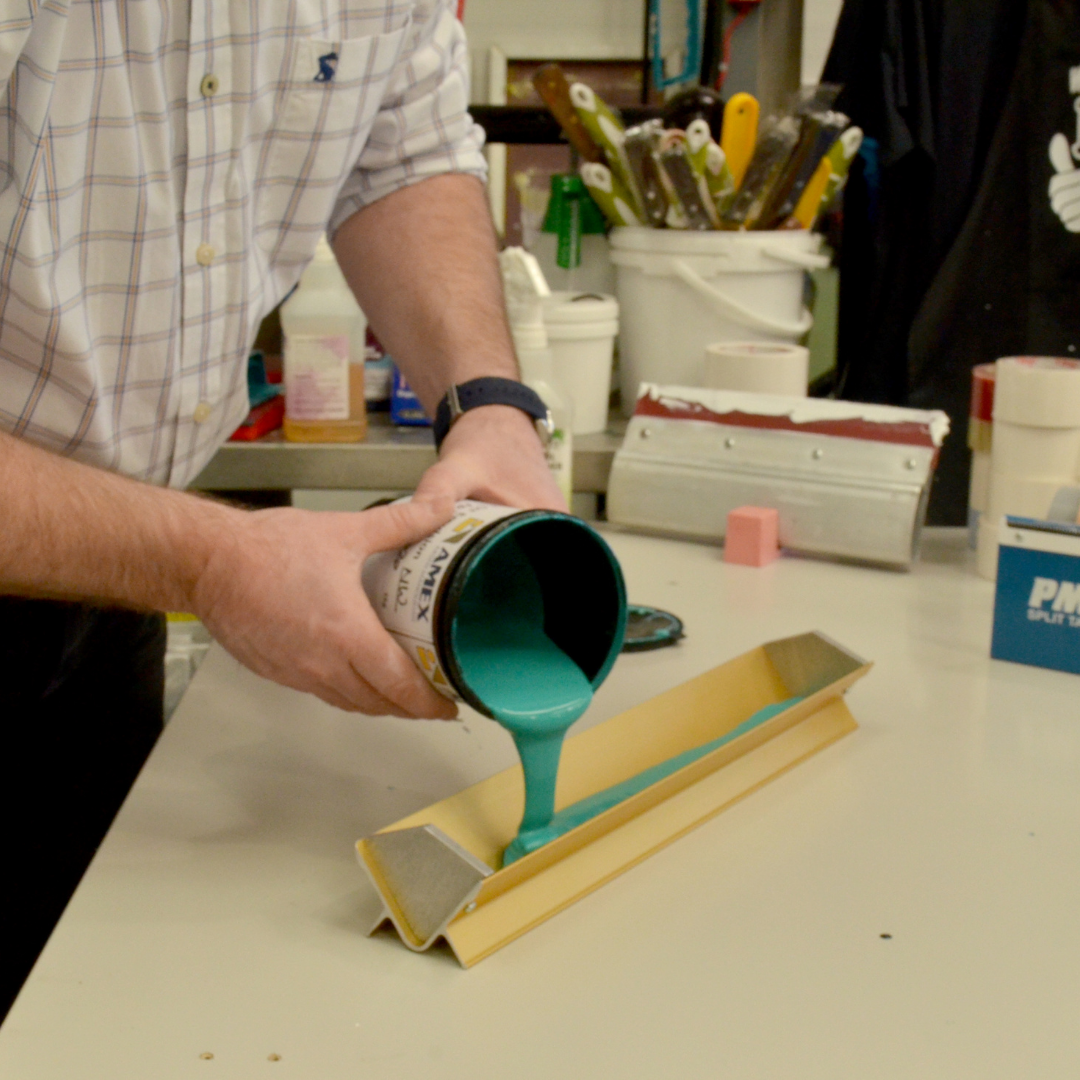
INK
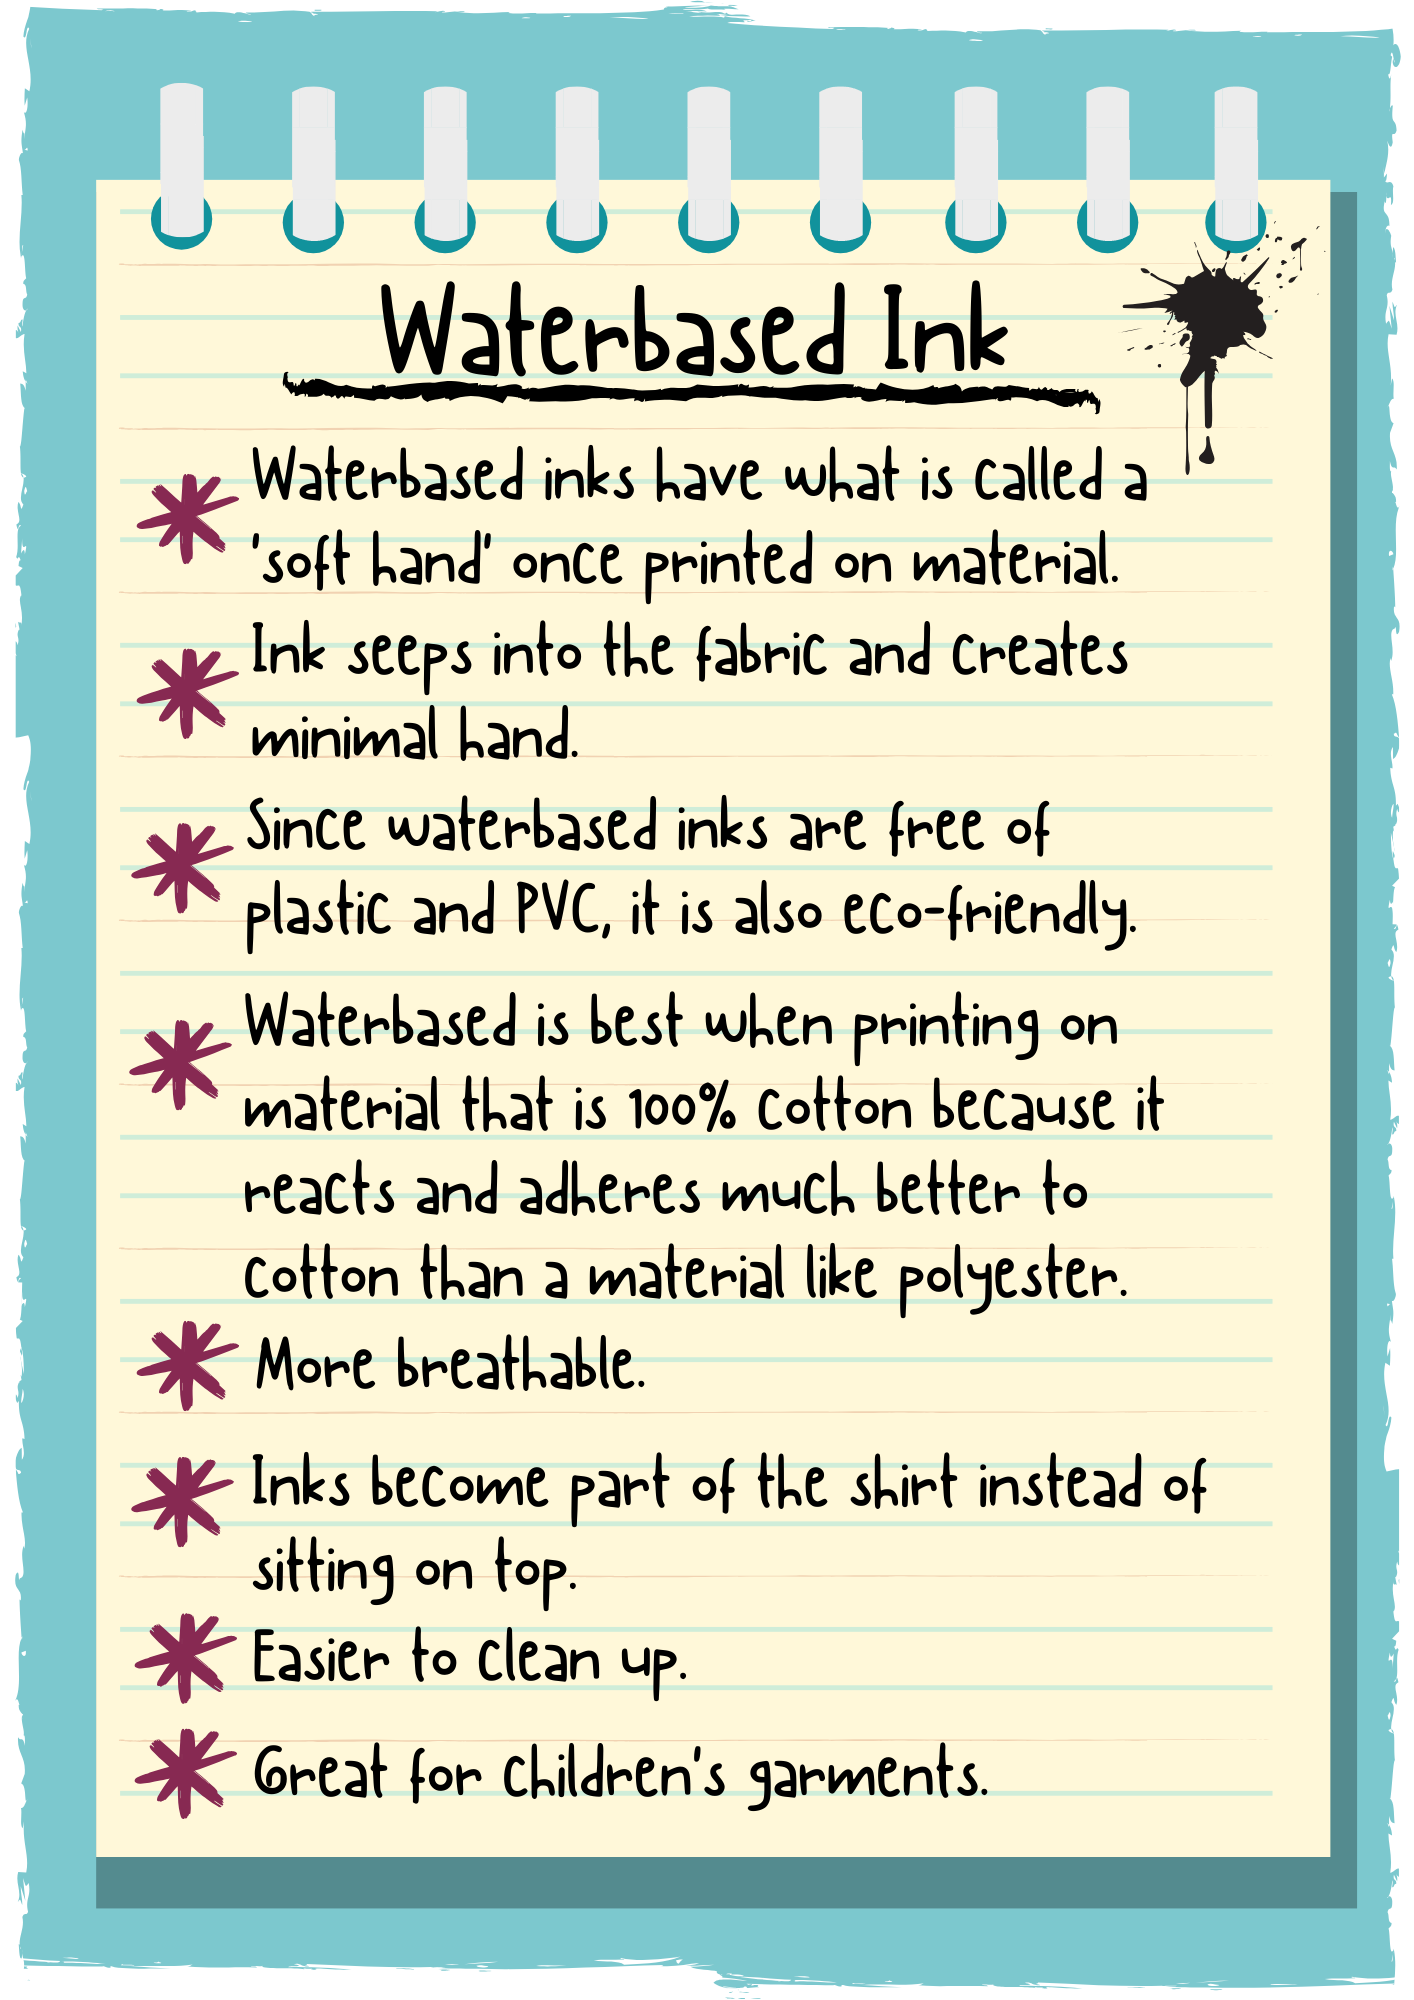
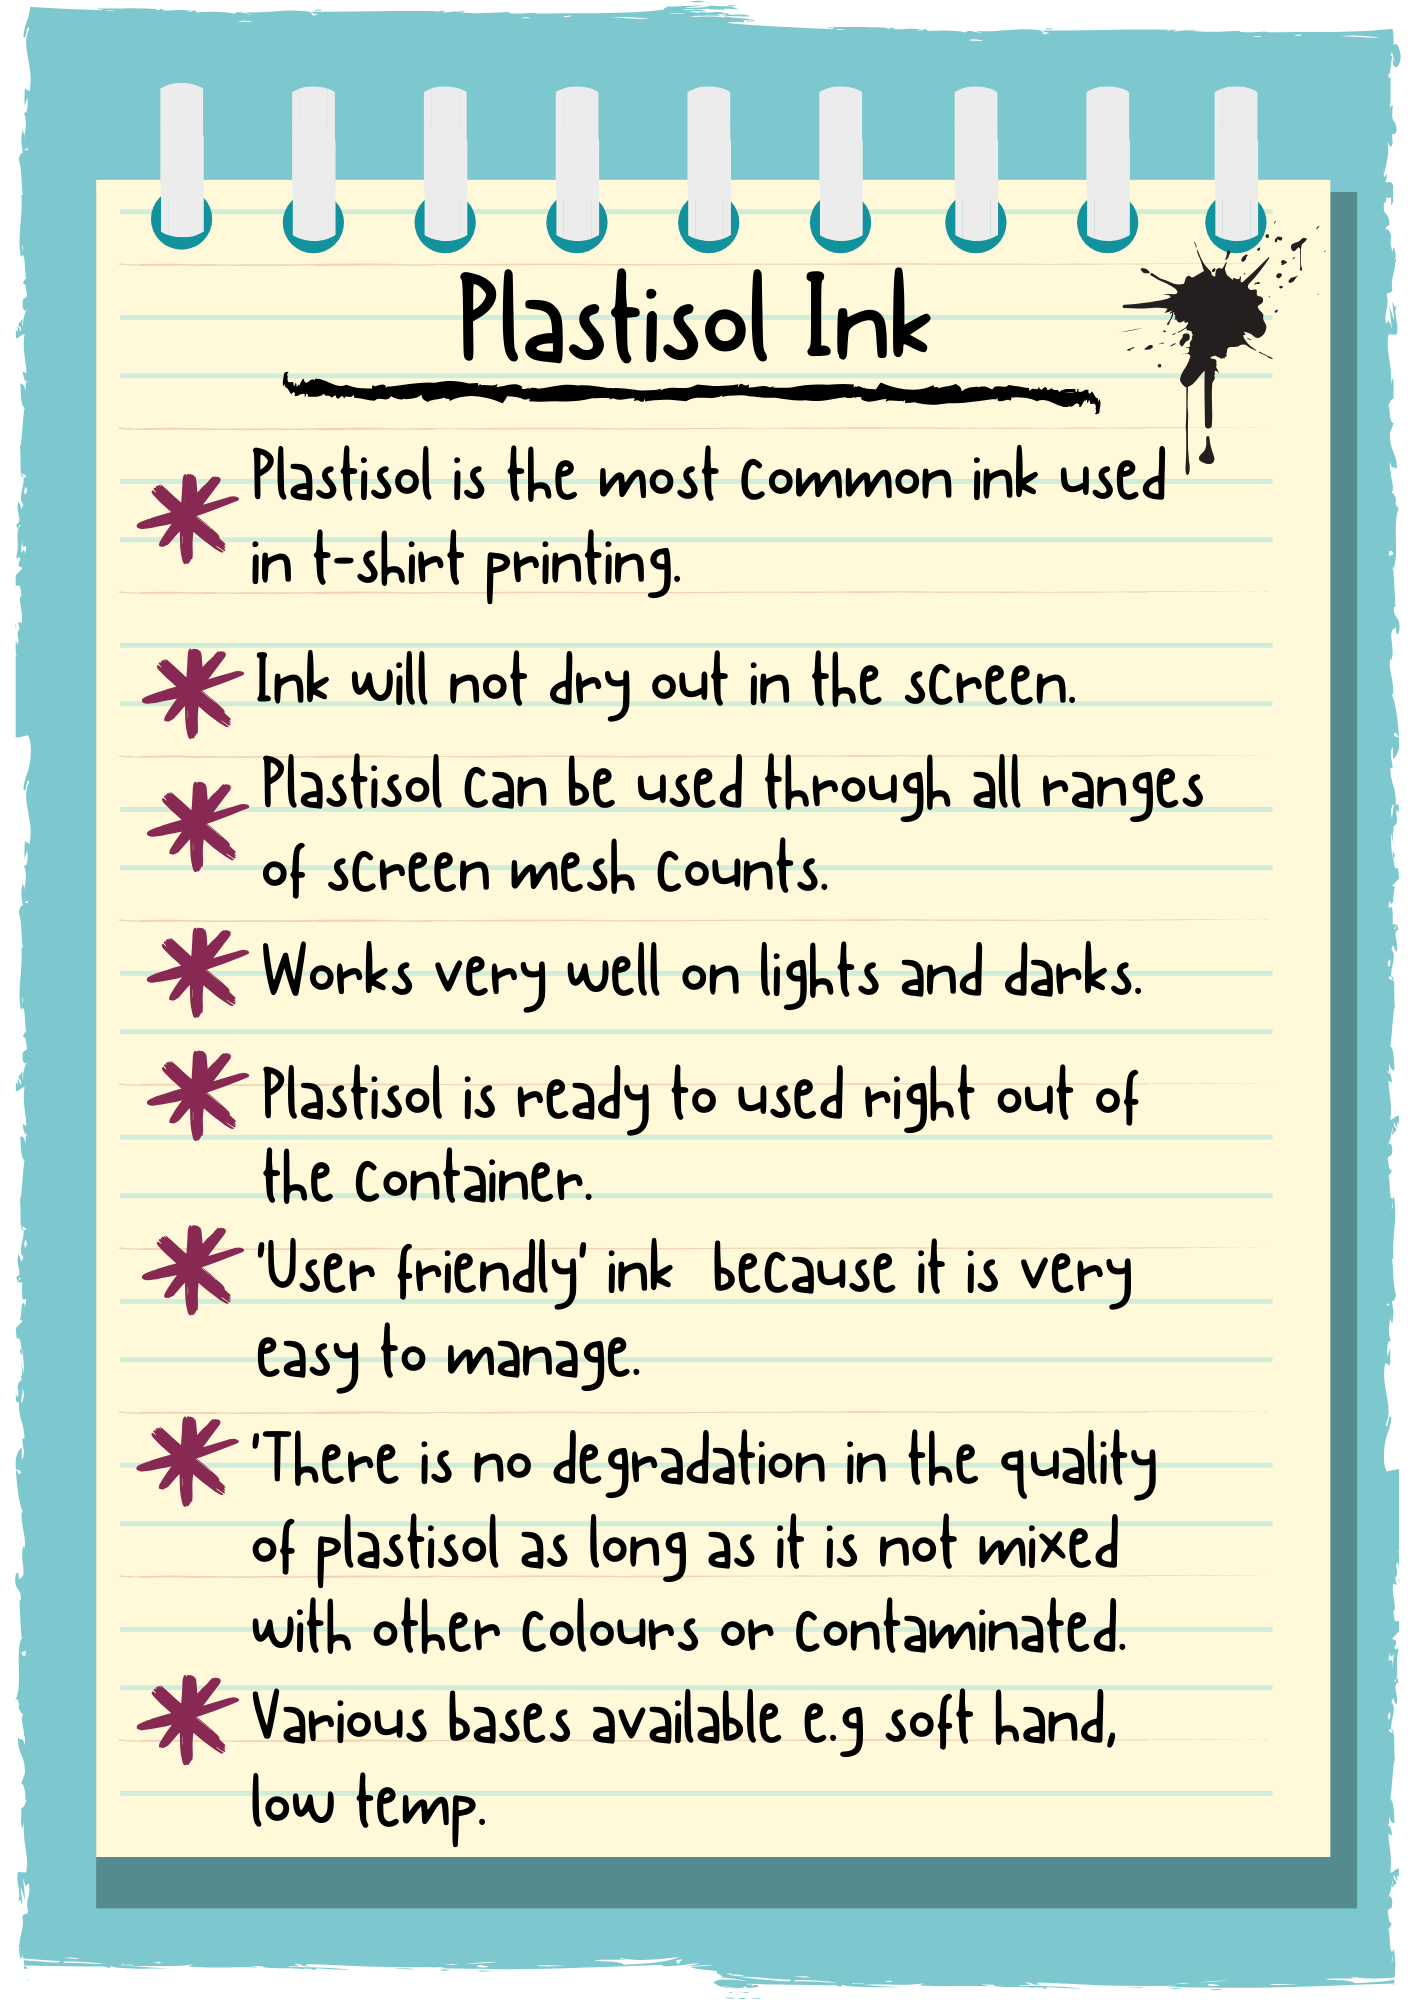
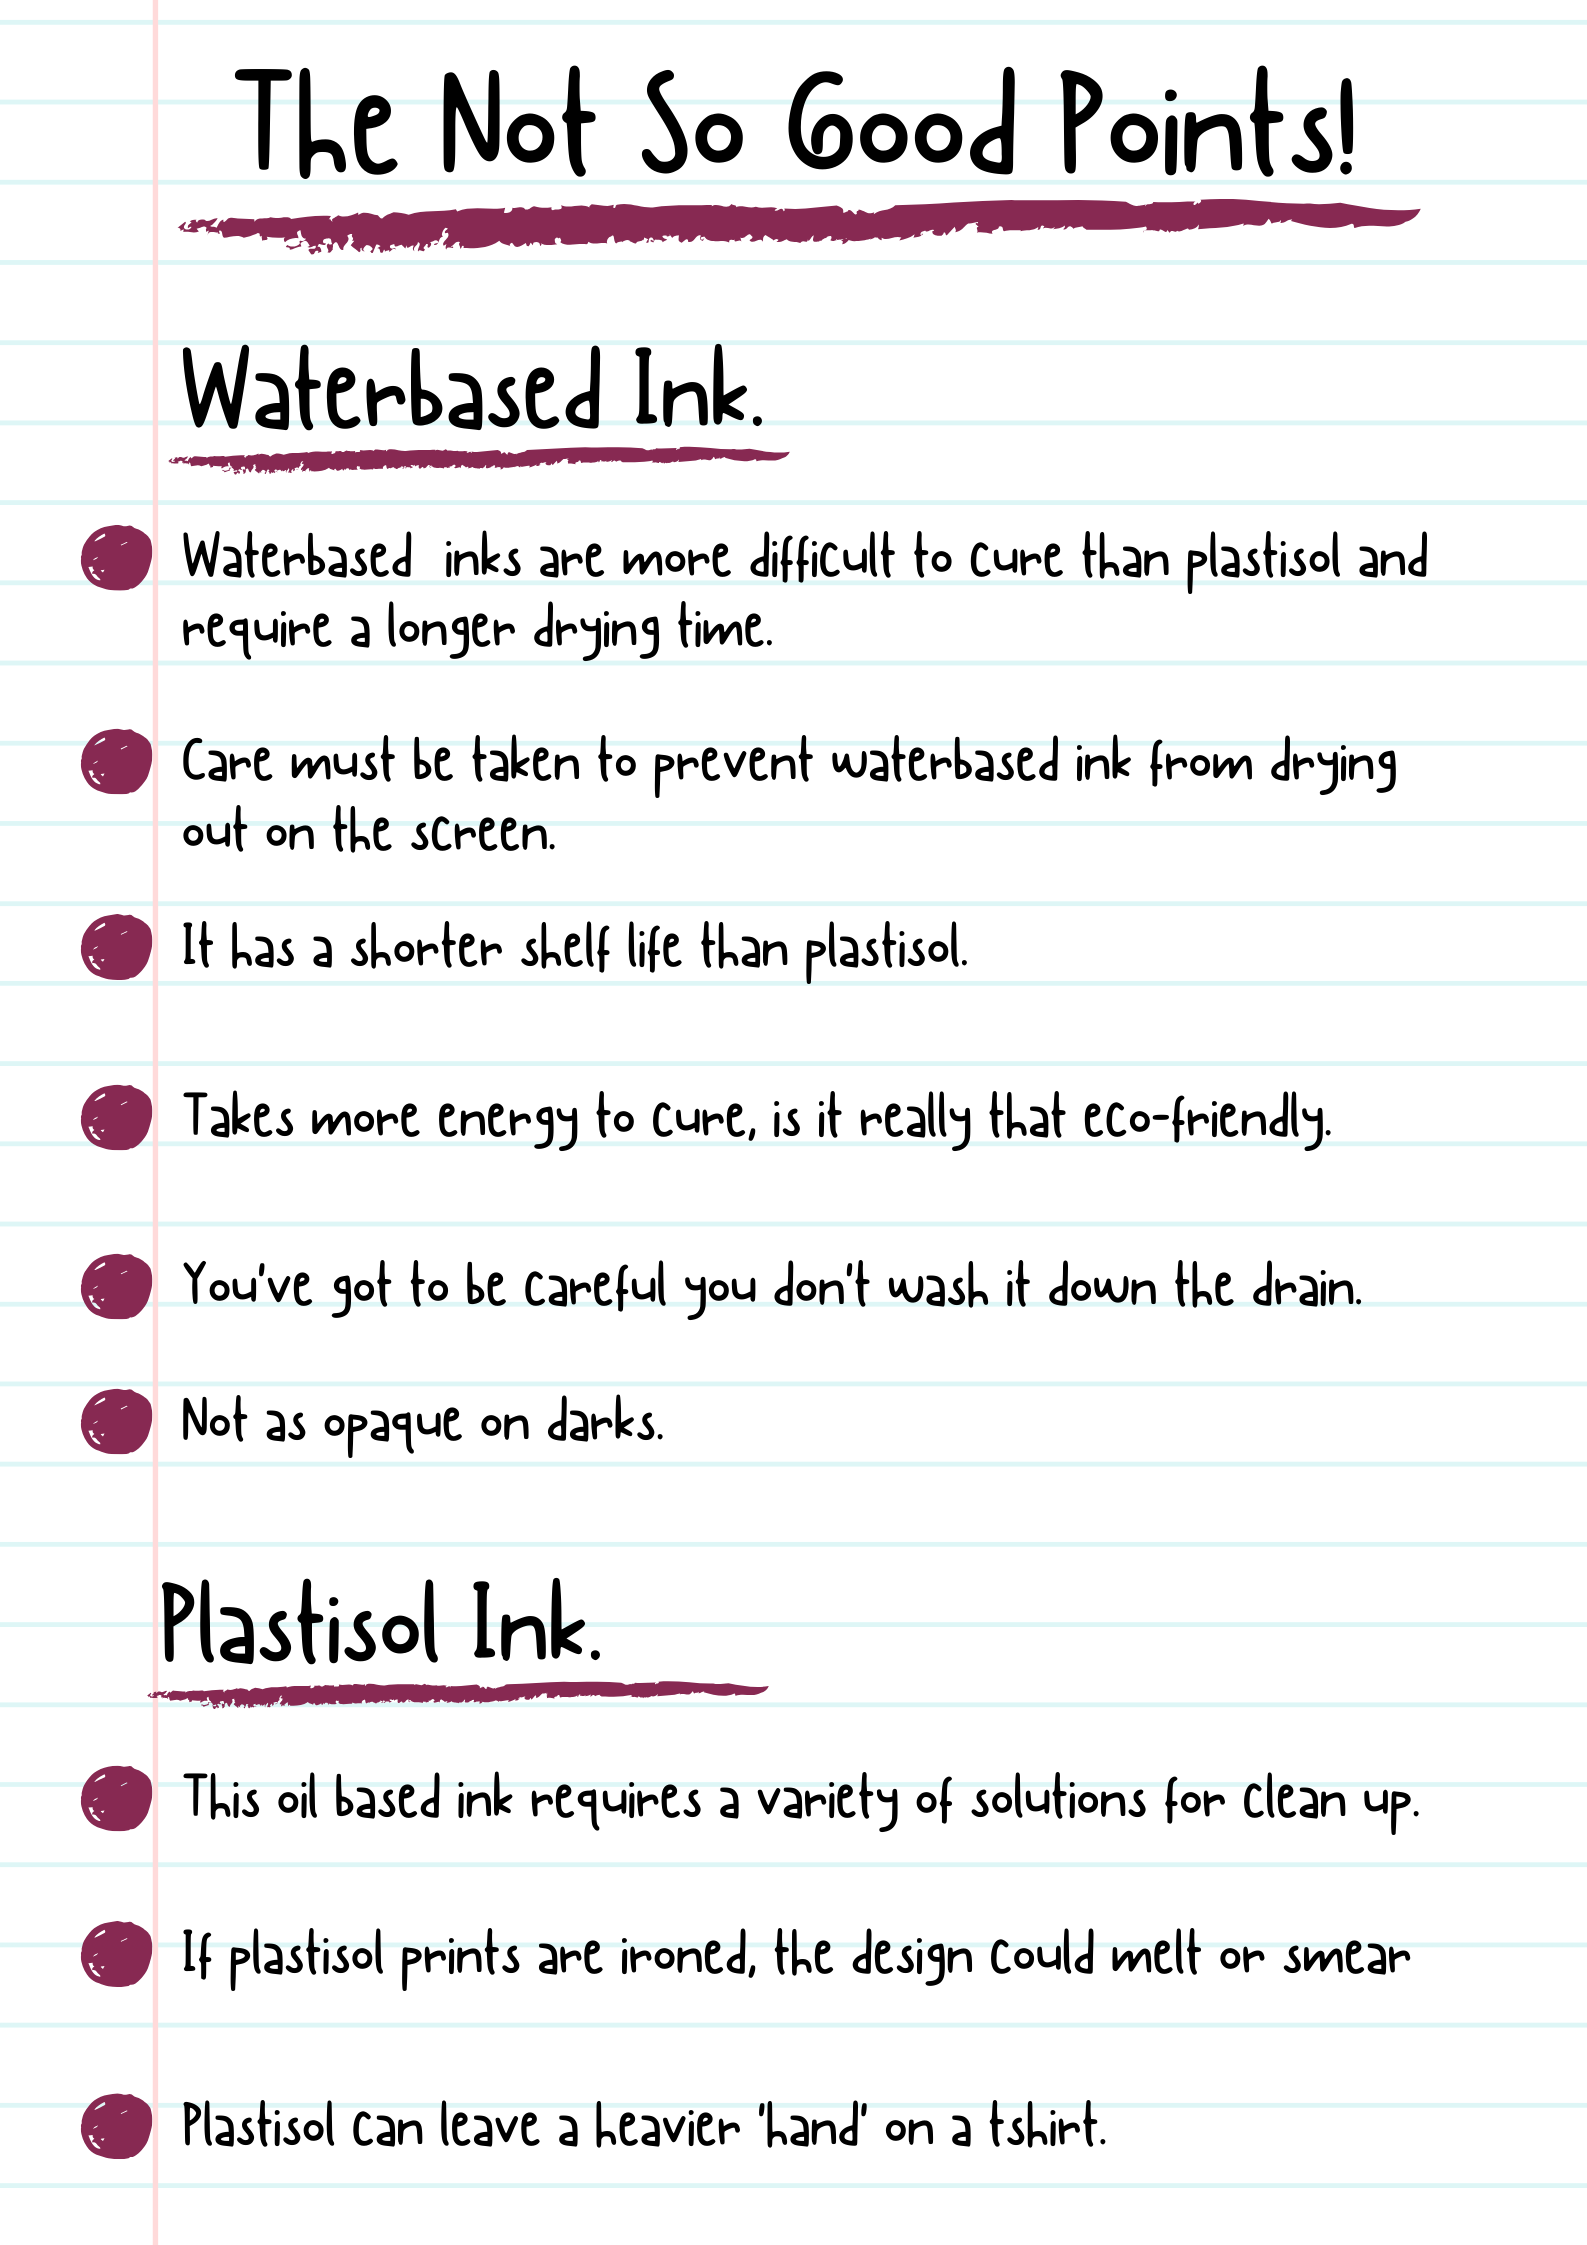
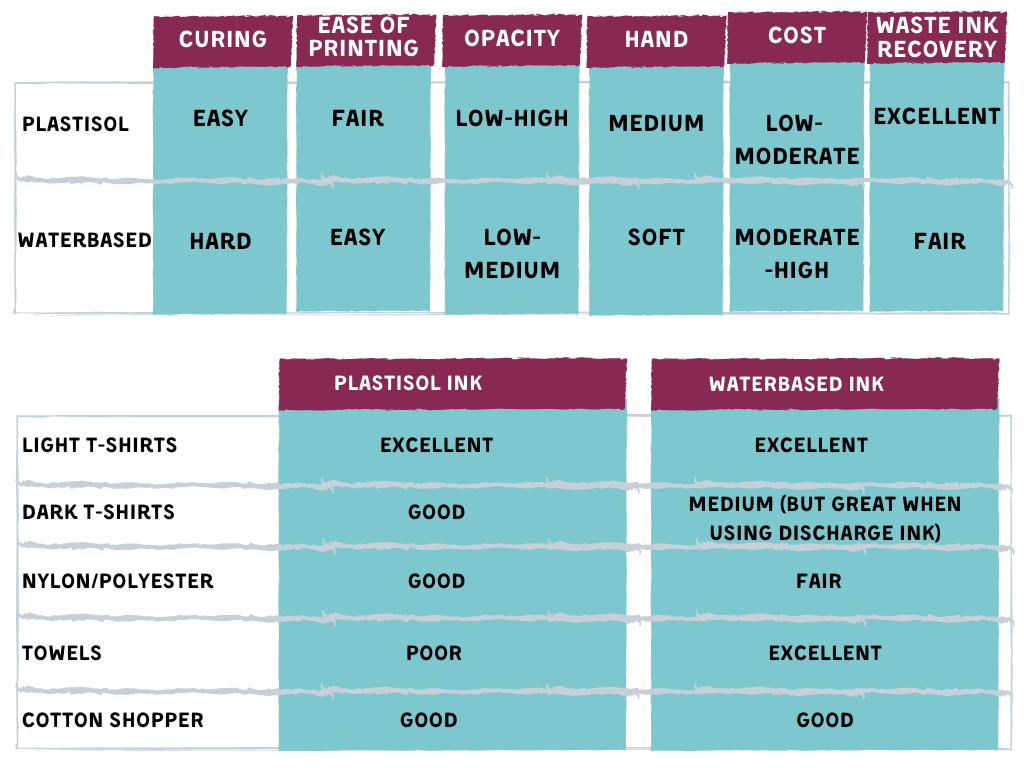
The two most common screen printing inks are plastisol and water-based. Plastisol inks are a great way to start screen printing because they are easy to print, do not dry in the screen, cure painlessly, and are vibrant and opaque. Water-based inks are good if you’d like a softer feel however they do have a tendency to dry in the screen so you do have to work quick and clean up straight after a print job. They are great eco friendly option and do not require chemicals to clean.
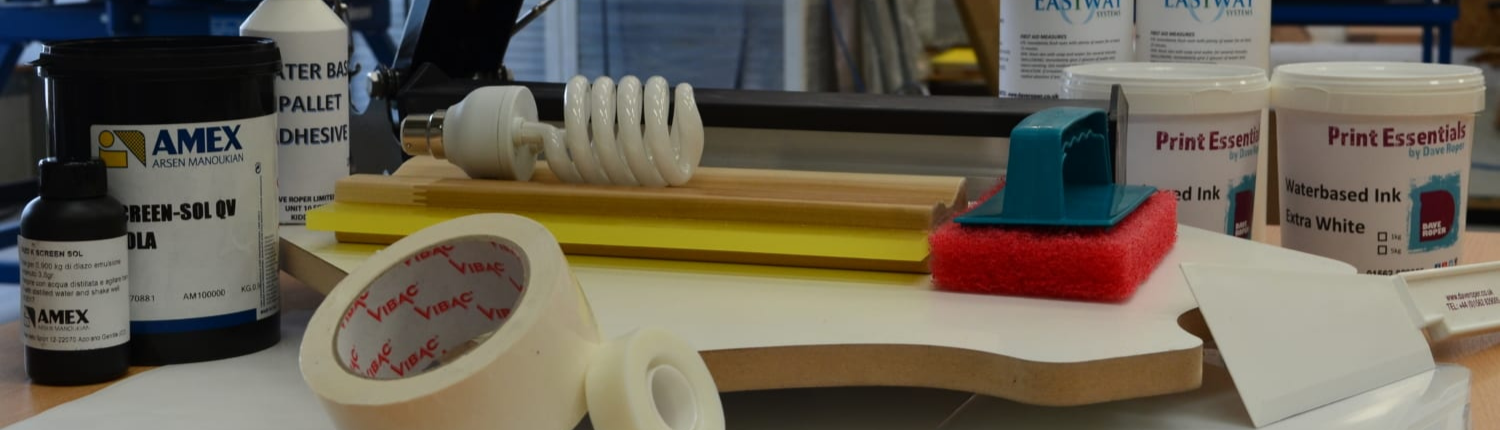
MISCELLANEOUS SUPPLIES
Along with all your equipment, You’ll need lots of other printing consumable such as cleaning solutions, tapes, squeegees, emulsion coaters, spatulas ETC. Check out our Screen Print Essentials checklist for a full list of consumables that you’ll most likely need when starting up.
PACKAGES
Feeling a bit overwhelmed with all of the above? Fear not. We have selected Start Up Packages packages that will contain everything you need to get started. These packages are suited for various budgets and requirements and offer you everything you’ll need to hit the ground running and be productive prom the outset. No need to pick and choose, just select which package would be right for you and your business. Check out the Starter Packages we offer here.
That’s everything you need to get started! If you have any
questions, please contact us. We’re here to help. You can call us at 01562 829
009 or email at nick@screenprintworld.co.uk


