If your screen printing prints are coming out fuzzy, underexposed, or full of pinholes, the problem often isn’t your emulsion or your exposure unit — it’s your film positive. A film that isn’t fully opaque, isn’t sharp, or has poor registration will sabotage even the best screen-making process. Here’s how to get films that give you crisp, reliable stencils every time.
1. Start With the Right Material
Screen printing films generally fall into two categories:
- Inkjet transparency film — affordable and widely used, printed on a standard inkjet printer with pigment-based ink.
- Laser transparency film — used with laser printers or imagesetters, often producing denser blacks.
For hobbyists and small shops, high-quality inkjet film is usually the sweet spot. If you are looking to invest in your film positive process, We also recommend a RIP software for denser quality prints.
2. Maximize Opacity (Density)
The single biggest factor in a good film is how black the black really is. Any light that sneaks through your film during exposure will cure the emulsion in areas you don’t want cured, leading to a soft, weak stencil.
To boost opacity:
- Set your printer to the highest quality/resolution setting.
- Use “double-print” or “print twice” if your printer or RIP software supports it — printing the image twice in perfect registration dramatically increases density.
- Use dedicated inkjet film formulated for screen printing rather than generic transparency sheets — regular office transparencies don’t hold enough ink.
3. Check Your Printer Settings
- Choose “Transparency” or “Film” as the media type if your printer offers it.
- Turn off any “photo enhancement,” color correction, or ink-saving modes — you want maximum, flat black ink coverage
- Print in pure black and white (or grayscale for halftones), not RGB, to avoid unwanted color casts that can reduce UV blocking.
4. Get Your Line Art and Halftones Right
- Keep line art perfectly black and white with no stray gray pixels — anti-aliasing at the edges of shapes can create soft, blurry stencil edges.
- For gradients or photographic images, convert them into halftones (dot patterns) at an appropriate LPI (lines per inch) for your mesh count — typically 45–65 LPI for standard mesh, higher for fine detail.
- Make sure text and fine lines aren’t too thin to hold ink density; anything under about 1pt can break up on the screen.
5. Nail Your Registration
If you’re printing multiple colors, registration marks are essential:
- Add crosshairs or registration marks outside the image area on every film.
- Keep the marks in the exact same position across all color separations so they stack precisely.
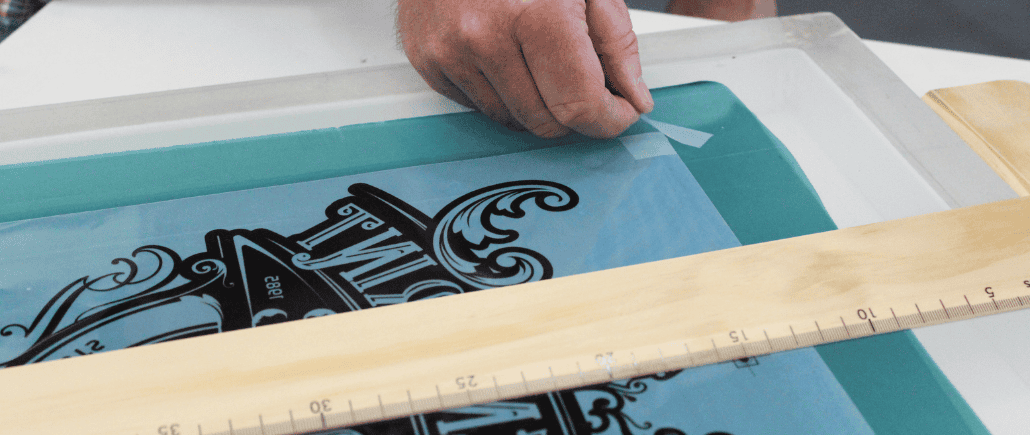
- Use registration tabs or a printing frame system on your exposure unit to hold film consistently in place from film to film.
6. Handle and Store Film Properly
- Store film flat, away from heat and direct sunlight, to prevent warping.
- Avoid touching the printed (ink) side — oils from your hands can reduce opacity and cause spots.
- Keep films in a dark sleeve or folder until you’re ready to expose, since even ambient light can slightly degrade fine detail over time.
7. Do a Density Test
Before committing to a big job, run a simple test:
- Print a solid black square along with some fine text and thin lines.
- Hold the film up to a bright light.
- If you can still see light coming through the black areas, your density isn’t high enough — reprint with a double pass or adjust settings.
Quick Troubleshooting Checklist
- Stencil breaking down fast? → Film density is likely too low.
- Edges look fuzzy on the screen? → Check for anti-aliasing in your artwork or ink bleeding on the film.
- Colors not lining up? → Registration marks aren’t consistent between films.
- Halftones filling in or dropping out? → LPI doesn’t match your mesh count, or density is inconsistent.
Final Thoughts
Perfect screen printing films come down to three things: maximum opacity, sharp clean artwork, and consistent registration. Get those three right, and your exposure times become predictable, your stencils hold up better, and your prints look sharp shot after shot. It’s a small step in the process, but it’s often the difference between a professional-looking print and a frustrating reprint.