

How to Master Metallic Inks for the Holidays
As the festive season ramps up, so does the demand for “bling.” Whether it’s a shimmering gold logo on a corporate Christmas gift or a heavy glitter print for a New Year’s Eve party tee, metallic inks are the undisputed kings of December printing.
However, if you usually stick to standard plastisol or water-based colours, opening that tub of Gold or Silver can be intimidating. The ink is thicker, the particles are tricky, and if you get your setup wrong, you’ll end up with clogged screens and frustrated printers.
Don’t panic. Printing with metallics is actually straightforward once you understand the physics of the ink. Here is your technical guide to mastering the sparkle this season.
The Difference: Shimmer vs. Glitter
First, it’s vital to know what you are working with, as “metallic” covers two distinct categories:
- Metallic/Shimmer Inks: These contain fine mica powders or aluminum flakes suspended in the base. They look smooth, like liquid metal.
- Glitter Inks: These contain actual, physical flakes of polyester glitter suspended in a clear base. They have a textured, grainy feel and maximum sparkle.
The larger the particle, the more you need to adjust your print process.


1. The Golden Rule: Mesh Count is Everything
The number one mistake printers make with metallics is using a mesh count that is too high.
Imagine trying to push a coin through a sieve. If the holes in your mesh are smaller than the flakes in your ink, the clear base will pass through, but the shiny flakes will get stuck behind. This creates a “filter” effect, clogging your screen instantly and leaving you with a dull, clear print.
Our Recommended Mesh Counts:
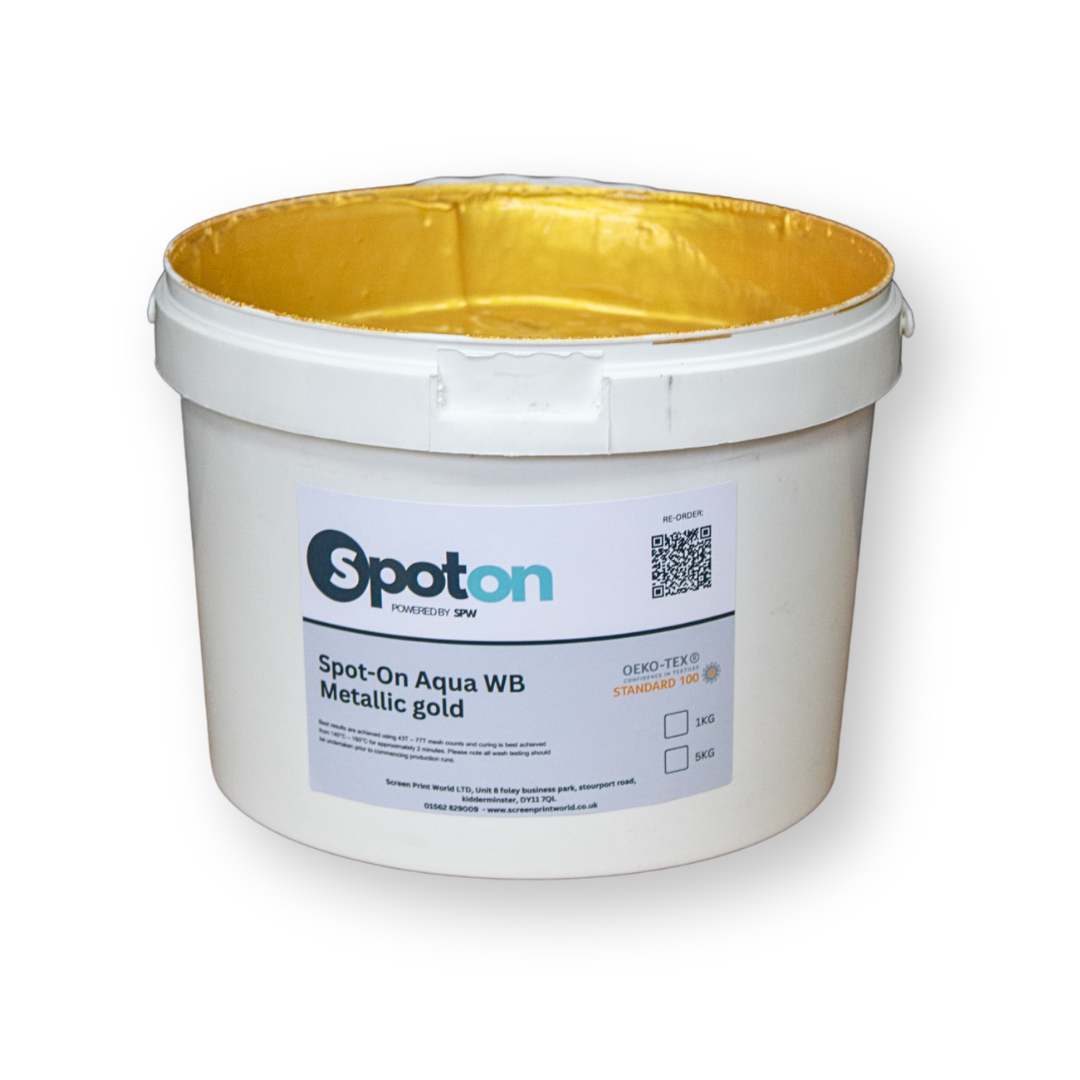
- For Gold/Silver Shimmers: Stick to 36T to 43T. You need that extra open area to let the mica powder flow freely.
- For Glitters: You need to go fully open. We recommend a 24T mesh or even lower. The flake needs a massive opening to tumble through onto the shirt.
2. Squeegee Selection: Soft and Sharp
Because metallic inks are thicker (higher viscosity) than standard colours, you need to lay down a heavier deposit of ink.
- Durometer: Avoid hard (80/90 durometer) squeegees. They will shear the ink off the surface rather than pushing it through. Use a softer 60/90/60 or a straight 65 durometer blade.
- Pressure: Use medium pressure. You want to deposit the ink on top of the fabric, not drive it deep into the weave.
- Angle: Keep your squeegee angle relatively vertical to ensure a clean shear, but ensure you have a generous flood coat before every stroke.
3. The Curing Challenge: Reflection vs. Absorption
This is the technical tip that saves jobs.
Metallic inks work by reflecting light—that’s what makes them shiny. However, in your tunnel dryer or under your flash unit, they also reflect heat.
While a black ink absorbs infrared heat rapidly, a silver ink reflects it. This means metallic inks often take longer to reach the crucial cure temperature (typically 160°C / 320°F) throughout the entire ink layer.
- The Fix: Do not just crank up the temperature (you risk scorching the garment). Instead, slow down your belt speed. Giving the ink a longer “dwell time” in the chamber allows the heat to penetrate through the reflective particles and cure the base layer against the fabric.
- The Stretch Test: Always perform a wash test or a stretch test. If the metallic ink cracks or flakes off easily, it is likely under-cured.
4. Pro-Tips for Maximum Shine
- Stir, Stir, Stir: Metallic particles are heavy and will settle at the bottom of the bucket. Before you put ink in the screen, give it a vigorous mix to ensure the flake is evenly distributed.
- Flatten It Out: For a chrome-like finish on Shimmer inks, try using a heat press after curing. Pressing the print for just 3-5 seconds with a Teflon sheet can flatten the fibers and orient the mica particles so they reflect light in the same direction, massively increasing the shine.
- Don’t Over-Flash: If you are flashing a metallic underbase (or flashing between colours), be careful. If you get the metallic ink too hot during the flash, it can become sticky or gloss over, making it hard for the next layer to stick.
Ready to Shine?
Don’t let the fear of clogged screens stop you from offering high-value prints this Christmas. With a lower mesh count and a little patience at the dryer, you can produce stunning, festive results.
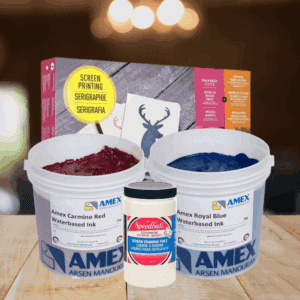
Need to stock up? We carry a full range of high-impact Metallic and Glitter Inks ready for next-day delivery. Grab a tub of Gold today and add some sparkle to your showroom!
